It will be coming soon! You can find me in all my other accounts & email!
New & Old Visitors
4 September 2015
It will be coming soon! You can find me in all my other accounts & email!
Happy March with a Freebie!
3 March 2015

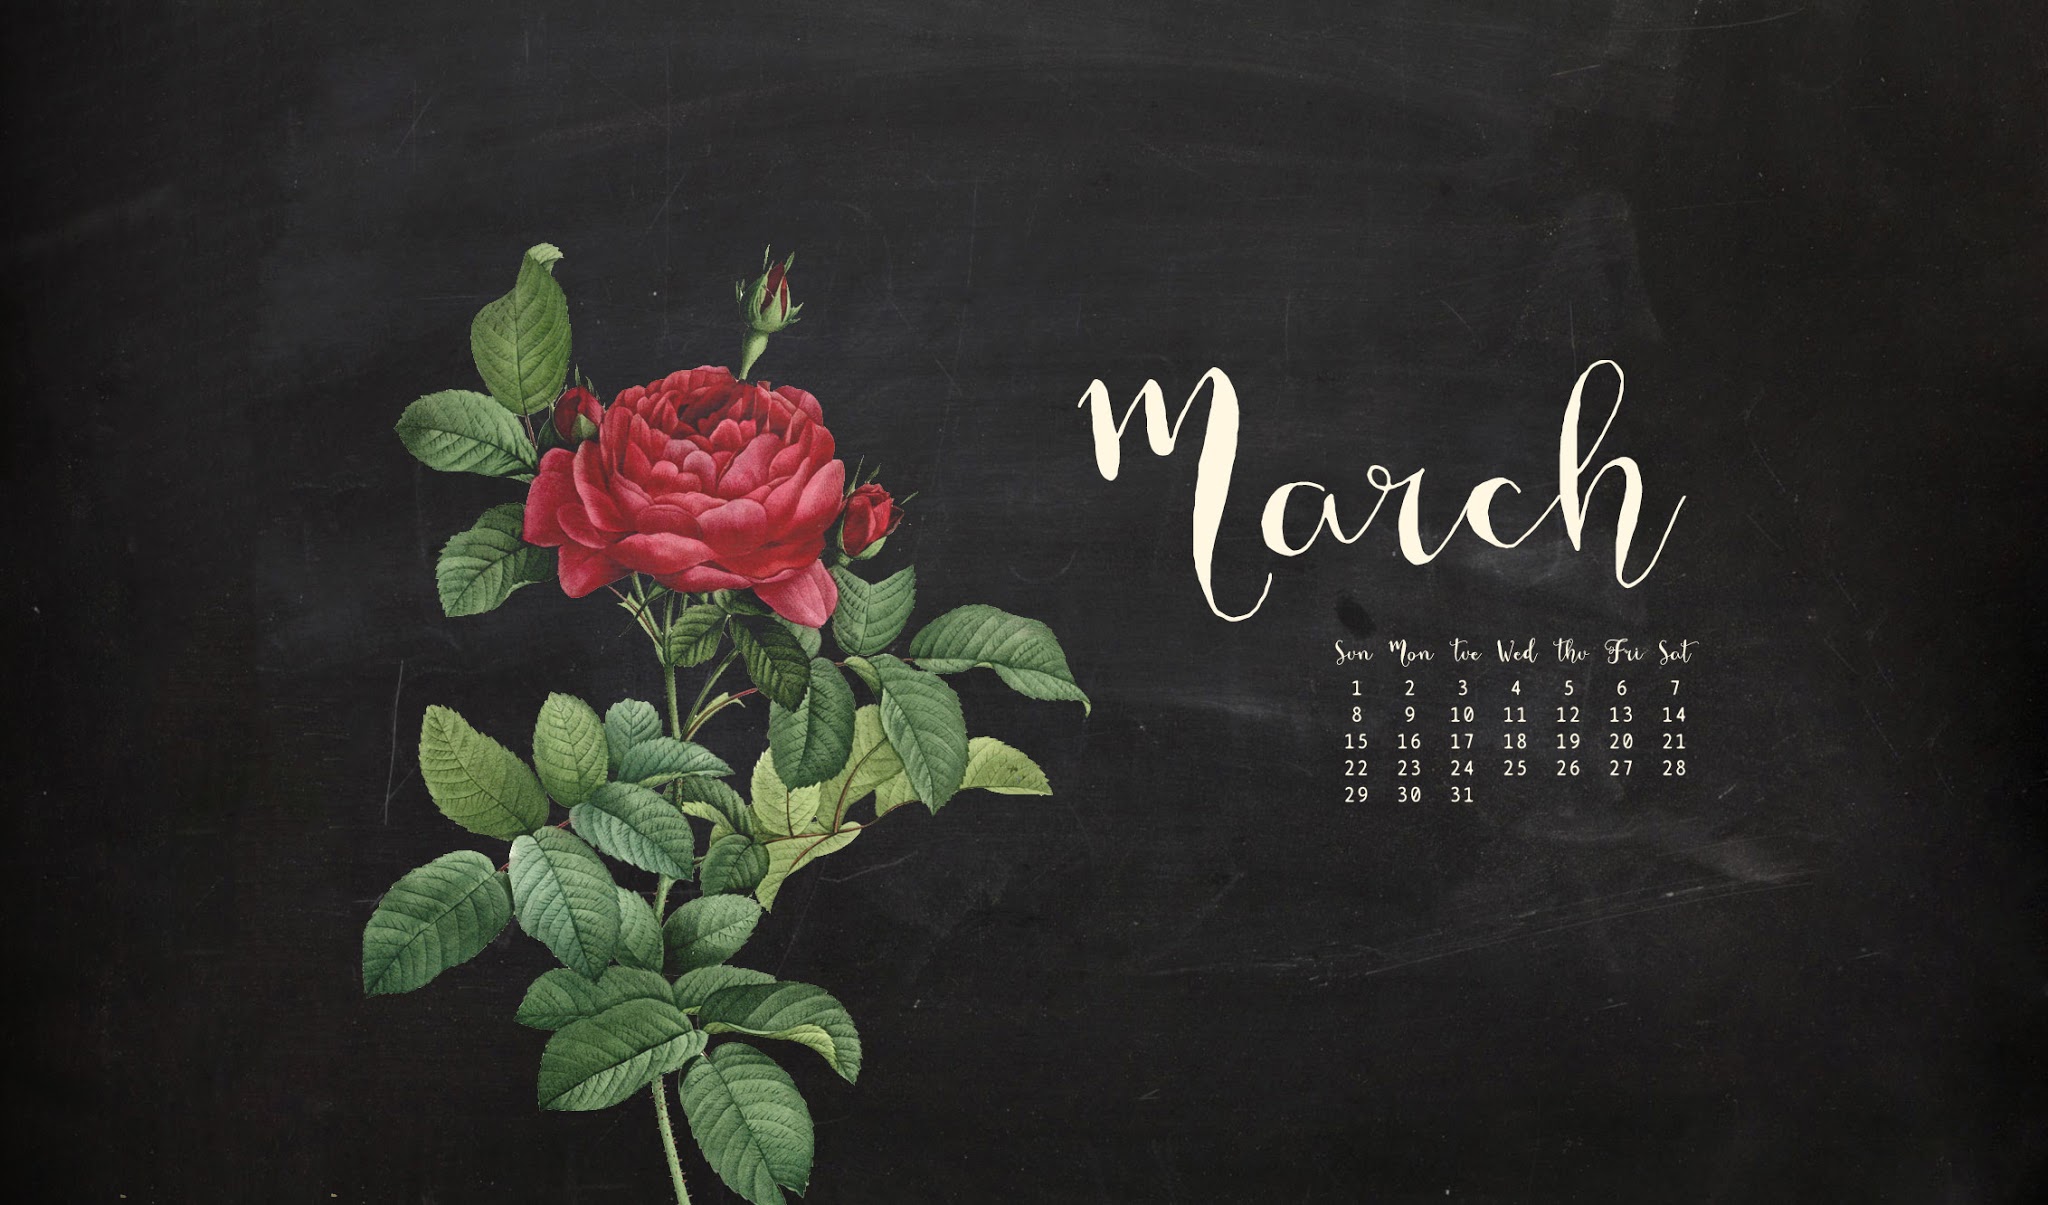
Hello everyone! Sorry for the 2 days dealy but you can now download the March desktop wallpaper! I also made a design for your phone (fits all resolutions) and it looks so good! Hope you're having a great start in Spring, it's getting warmer here and I hope it keeps it this way! To download the files just click on the image above to get the wallpaper and the images below for each phone wallpaper!
 |  |
Rome through my phone
2 February 2015

Hello everyone! Finally a weekend to sit and relax after weeks..! The previous weekend I traveled with my sister to Rome! I was there same month last year, but I needed some days off and she wanted so much to go, so why not! It was rather a quick decision but our days were full of sightseeing and walking. And when it comes to tourist walking, fashion booties are not made to walk centuries old alleys of cobble stones, that's for sure. We rent bicycles, the weather was sunny and we had such a great time! All photos through my iPhone - yes I still don't have a camera.


Happy new year + January desktop calendar
4 January 2015
Happy new year everyone!! Hope you've had a lovely Christmas and New Year's day! I've been working through the holidays, only took the important days off and it was so nice to finally have time to just sit with friends drinking wine and talking nonsense! I didn't do anything special for New Year's, I was working on the 31st and after cooking my first burgers (total success!) I felt so sleepy there was no way I would go out...! Each Christmas I'm daydreaming of having my own home to decorate and cook and call friends and every year I tell myself to be patient, it can't be too long. :)

I also made two vertical wallpapers for your phone! Now that I got an iPhone I'm searching all around for cool wallpapers and fun apps! Just click on each image to get the full size file! (The beautiful stock photo is by Jay Mantri.)


I also made two vertical wallpapers for your phone! Now that I got an iPhone I'm searching all around for cool wallpapers and fun apps! Just click on each image to get the full size file! (The beautiful stock photo is by Jay Mantri.)


DIY cat print tote!
16 December 2014

I have had this DIY in mind since the first time I saw Leah Goren's cat print! It was way easier than I thought it would be, I was pretty sure the first tote would be a failure, and I can't wait to try this with more designs!
What you'll need:
- blank tote bag
- polymer clay small package - any color you want (I used the brand Fimo)
(if you want a bigger stamp you can buy more/bigger polymer clay) - tool to shape the clay, I bought this wooden thing for 85 cents, you can use whatever feels better to you, just don't use a craft knife because the clay is soft. (If you're making a stamp out of a harder material you can buy stamp-carving tools from craft stores.)
- fabric paint
- brush
- printed and cut shape for your stamp
- plastic bag or thick paper
Total cost: 9€ - but you use the paint, tool, brush and stamp more than once.
 |  |
I googled "cat head silhouette" and found this really small image. I resized it to fit inside the clay's dimensions, printed it and cut it. I haven't took any photos of the stamp-making process because it was really trial-and-error, I hadn't used polymer clay before. Using the tool I pressed downward around the shape, I cut horizontally some parts that were sticking out and like a total amateur, pushed and cut around until I had a good shape of the cat head! I then baked this for about an hour (directions said 30 minutes but mine wasn't done even after 60, but I took it out anyway in fear of burning it).
 |  |
Next, I used the brush to apply a medium-to-heavy coat of paint of the stamp.
An important thing to note is that you have to put something inside the bag so that the paint doesn't transfer from one side to the other. Not that the paint is runny or anything, I just noticed that in 2-3 of the stamps the paint passed through and it would have stained the back side hadn't I put a plastic bag in between. For the photos I used a paper sheet, you can use paper as well but a regular thin plastic bag worked better for me.

Now another note when doing the stamping. My stamp's surface wasn't 100% even, I realised this when I tried it on paper and only 1/3 of the cat head got stamped. If you're not an expert or don't use a store-bought stamp you'll probably have the same issue. I didn't want to buy many tools for something I didn't know whether it would work or not and I wouldn't manage to make it absolutely even anyway.

 |  |
The trick is in putting you other hand under the bag's fabric and under the plastic bag/paper sheet while stamping. I pressed the stamp on the bag with one hand and the bag to the stamp with the other. Did I confuse you yet?! Just use both your hands to make sure that the stamp has touched all of the fabric it's supposed to touch and that it won't leave unpainted parts.
I was thinking how would I achieve that distressed look in my pattern. I saw a tutorial where someone used tights or other fabrics, but guess what! These little cuties turned out perfect right away, I didn't do anything to make them look like that!

Now that I realised how easy that is, I plan on making more totes for Christmas presents! I've had the thought of making tote bags with gold foil or cross-stitching on them, but these are more time-consuming and expensive. For now I'll stick to fabric paint when I want to write or stamp a tote, can't wait to use the gold paint I got!
Feel free to ask about anything that wasn't clear enough or if you need any advice on how to do this! Hope you like it and happy crafting!
